


Ensuring your purchasing agent follows your exact specifications is crucial for a successful haul. This guide will walk you through the process of using the ItaoBuy spreadsheet to compare item URLs, purchase receipts, and QC photos, safeguarding you from unapproved order changes.
The Verification Workflow: A Three-Way Match
The core principle is to create a three-point verification
Step-by-Step Detection Process
Step 1: Populate Your Spreadsheet
In your ItaoBuy sheet, always paste the full
Step 2: Scrutinize the Purchase Receipt
When your agent confirms the purchase, they will provide a receipt. You must:
- Compare Item Titles:
- Decode Specifications:
- Verify Price & Quantity:
- Decode Specifications:
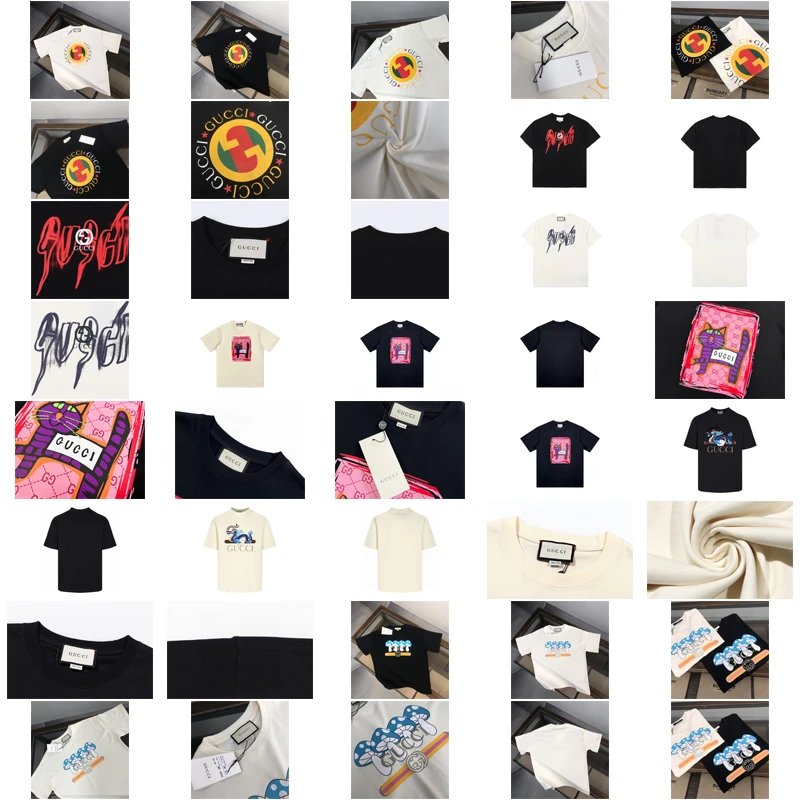
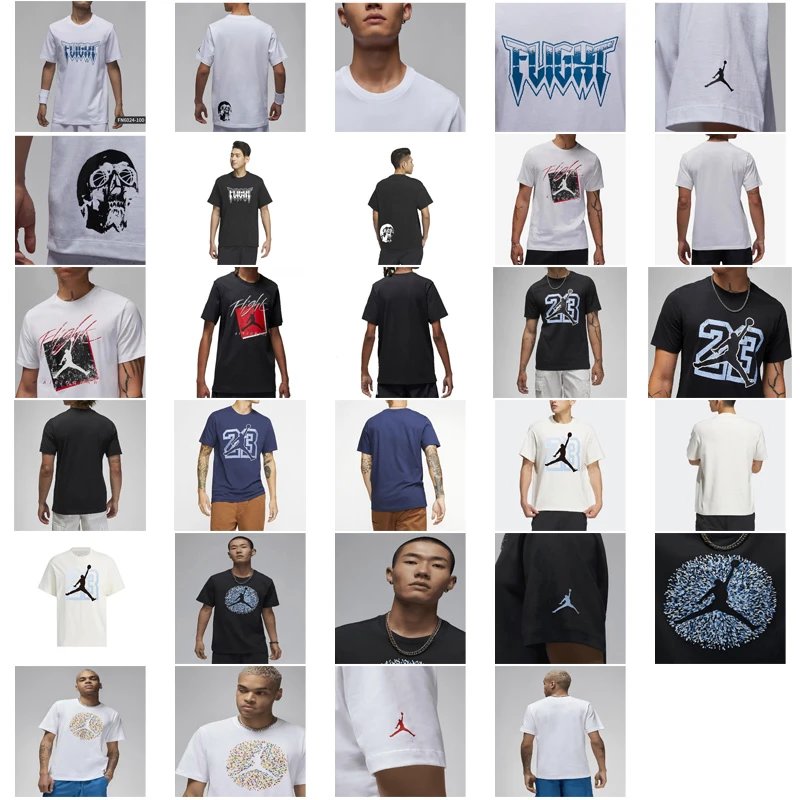
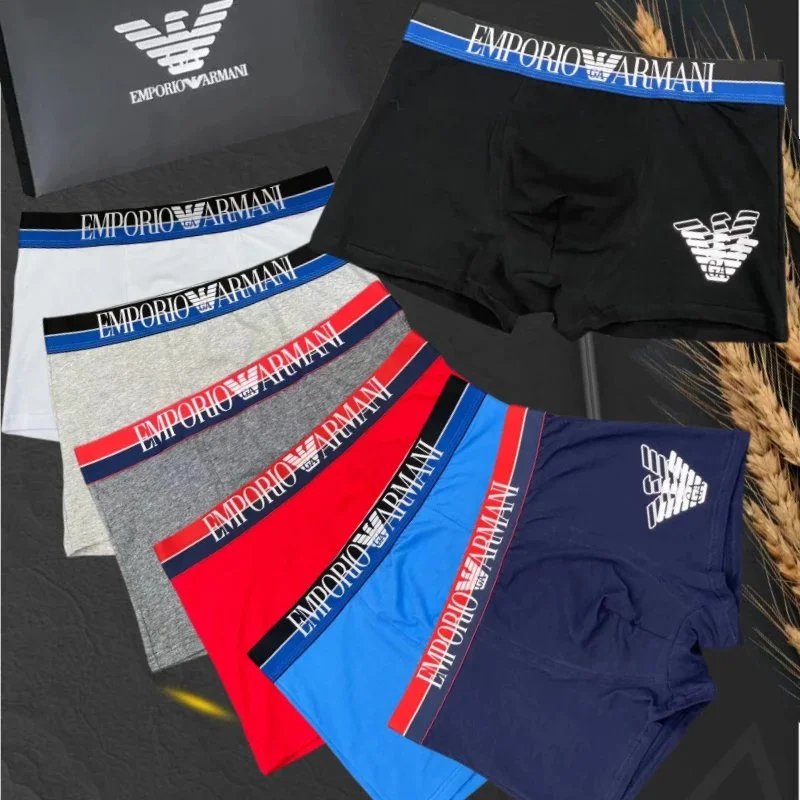
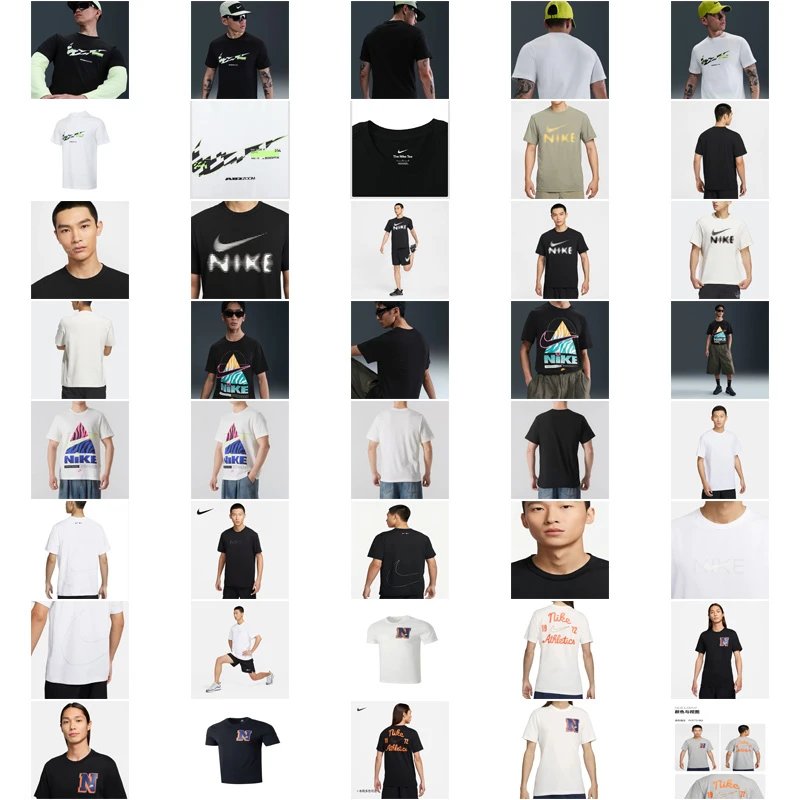
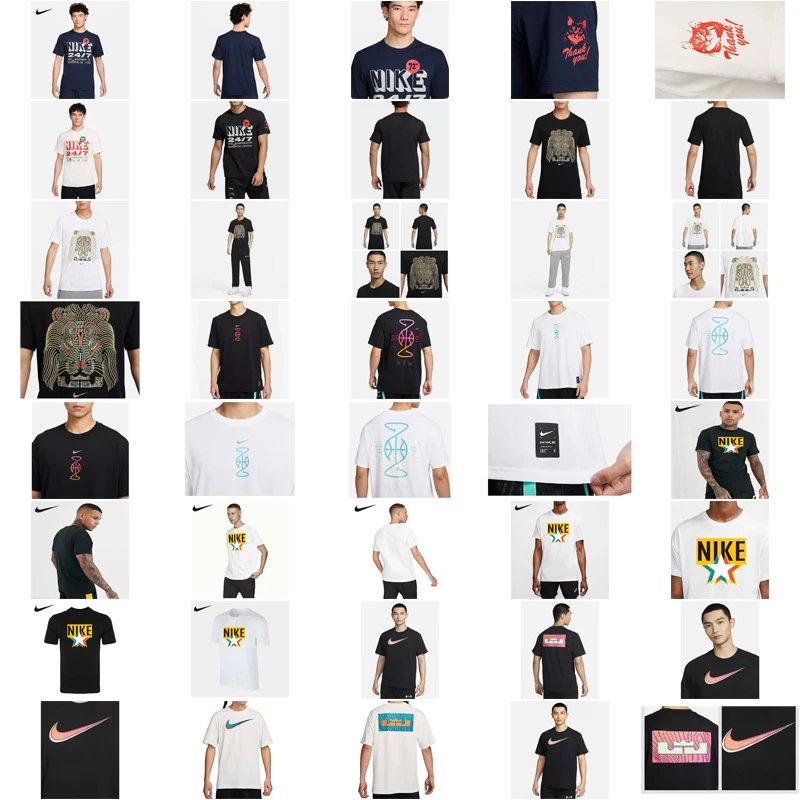
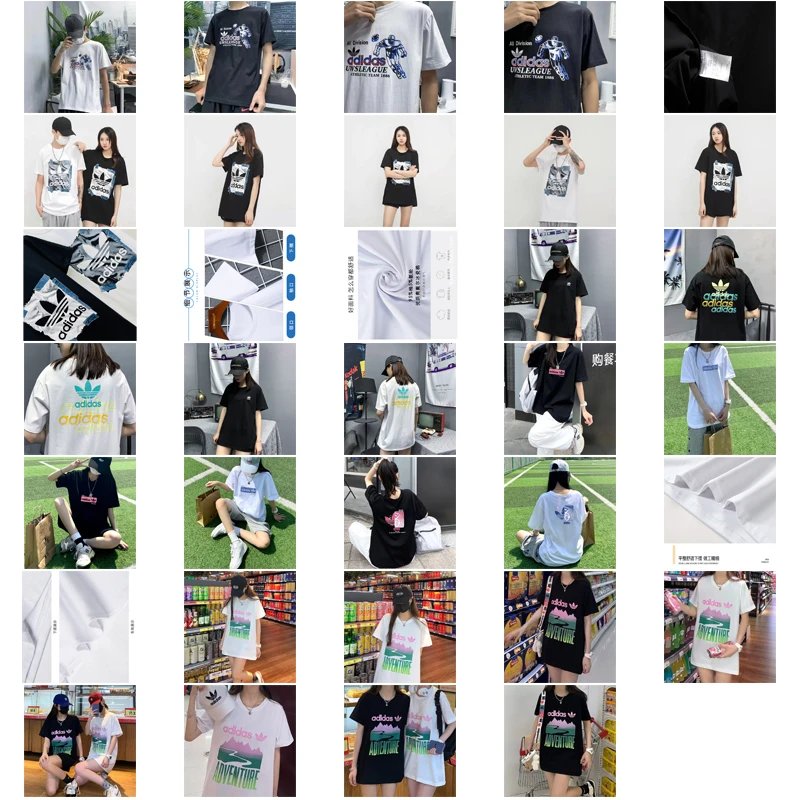
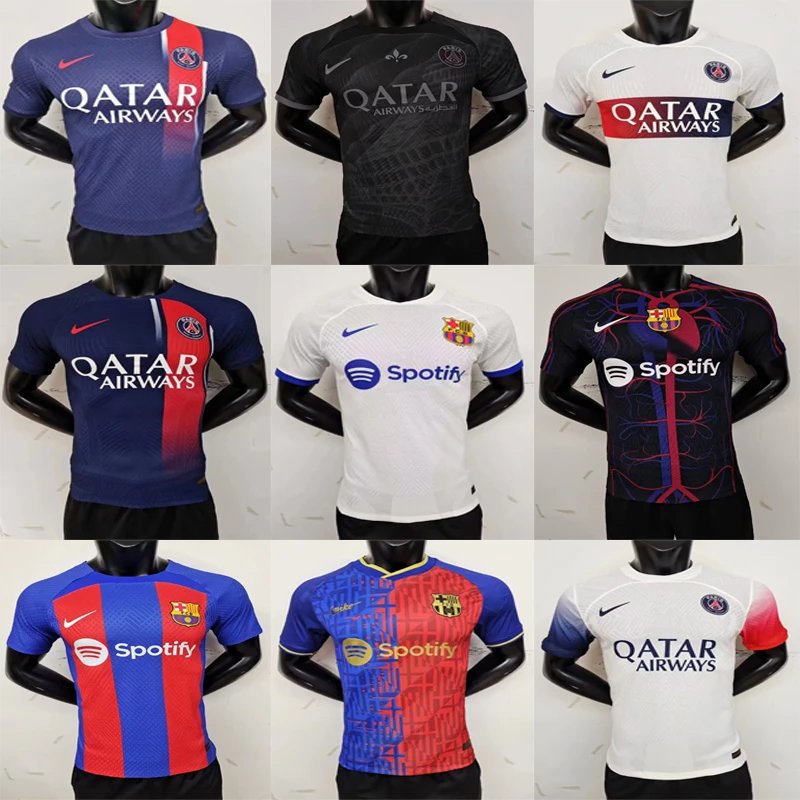
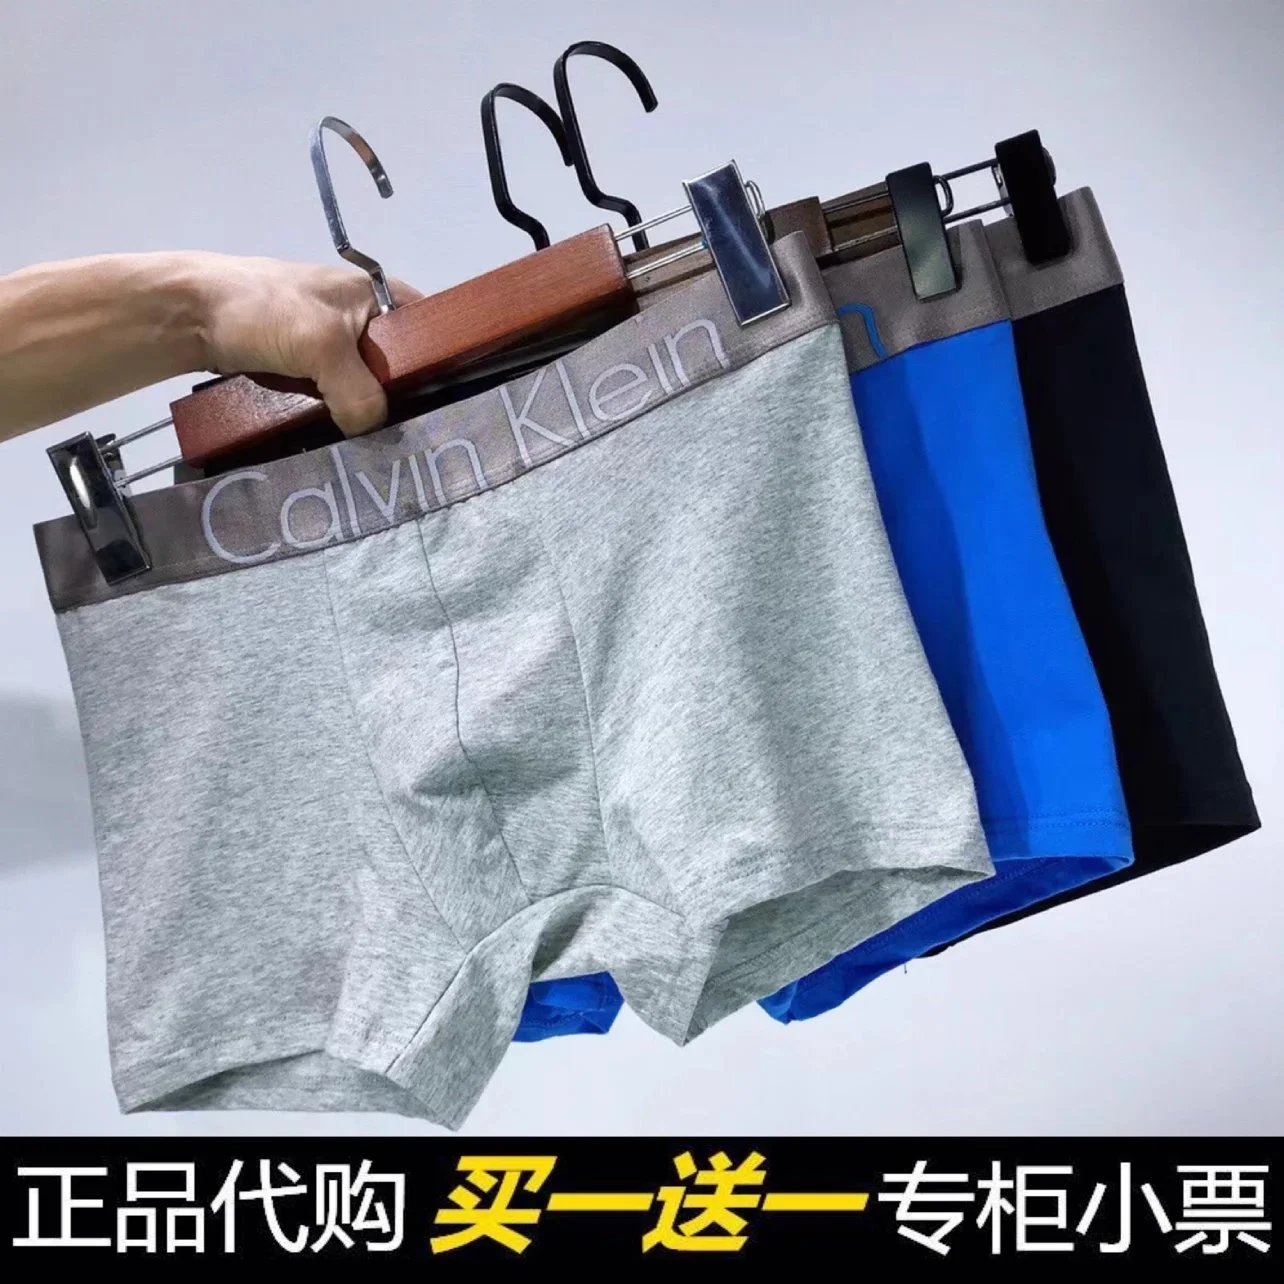
Step 3: Audit the QC Photos
This is your final and most important checkpoint. When QC photos arrive:
- Visual Match to URL:
- Check Tags & Packaging:
- Look for Hidden Flaws:
- Check Tags & Packaging:
Step 4: Flagging Discrepancies
If you detect a mismatch at any stage:
- Immediately highlight the row
- Contact your agent with clear evidence: paste the URL, your instruction, and a screenshot of the incorrect receipt or QC photo.
- Politely but firmly request a correction—either a return/exchange or a partial refund if the error is minor.
Pro Tips for Efficiency
- Use Spreadsheet Comments:
- Screenshot Everything:
- Leverage Community Knowledge:
- Be Systematic:
- Screenshot Everything: